Difference between revisions of "Zmodo Greet"
GredLeader (talk | contribs) |
GredLeader (talk | contribs) |
||
| Line 16: | Line 16: | ||
<gallery> | <gallery> | ||
File:Zmodo Greet Power.JPG | File:Zmodo Greet Power.JPG | ||
</gallery> | |||
== UART == | |||
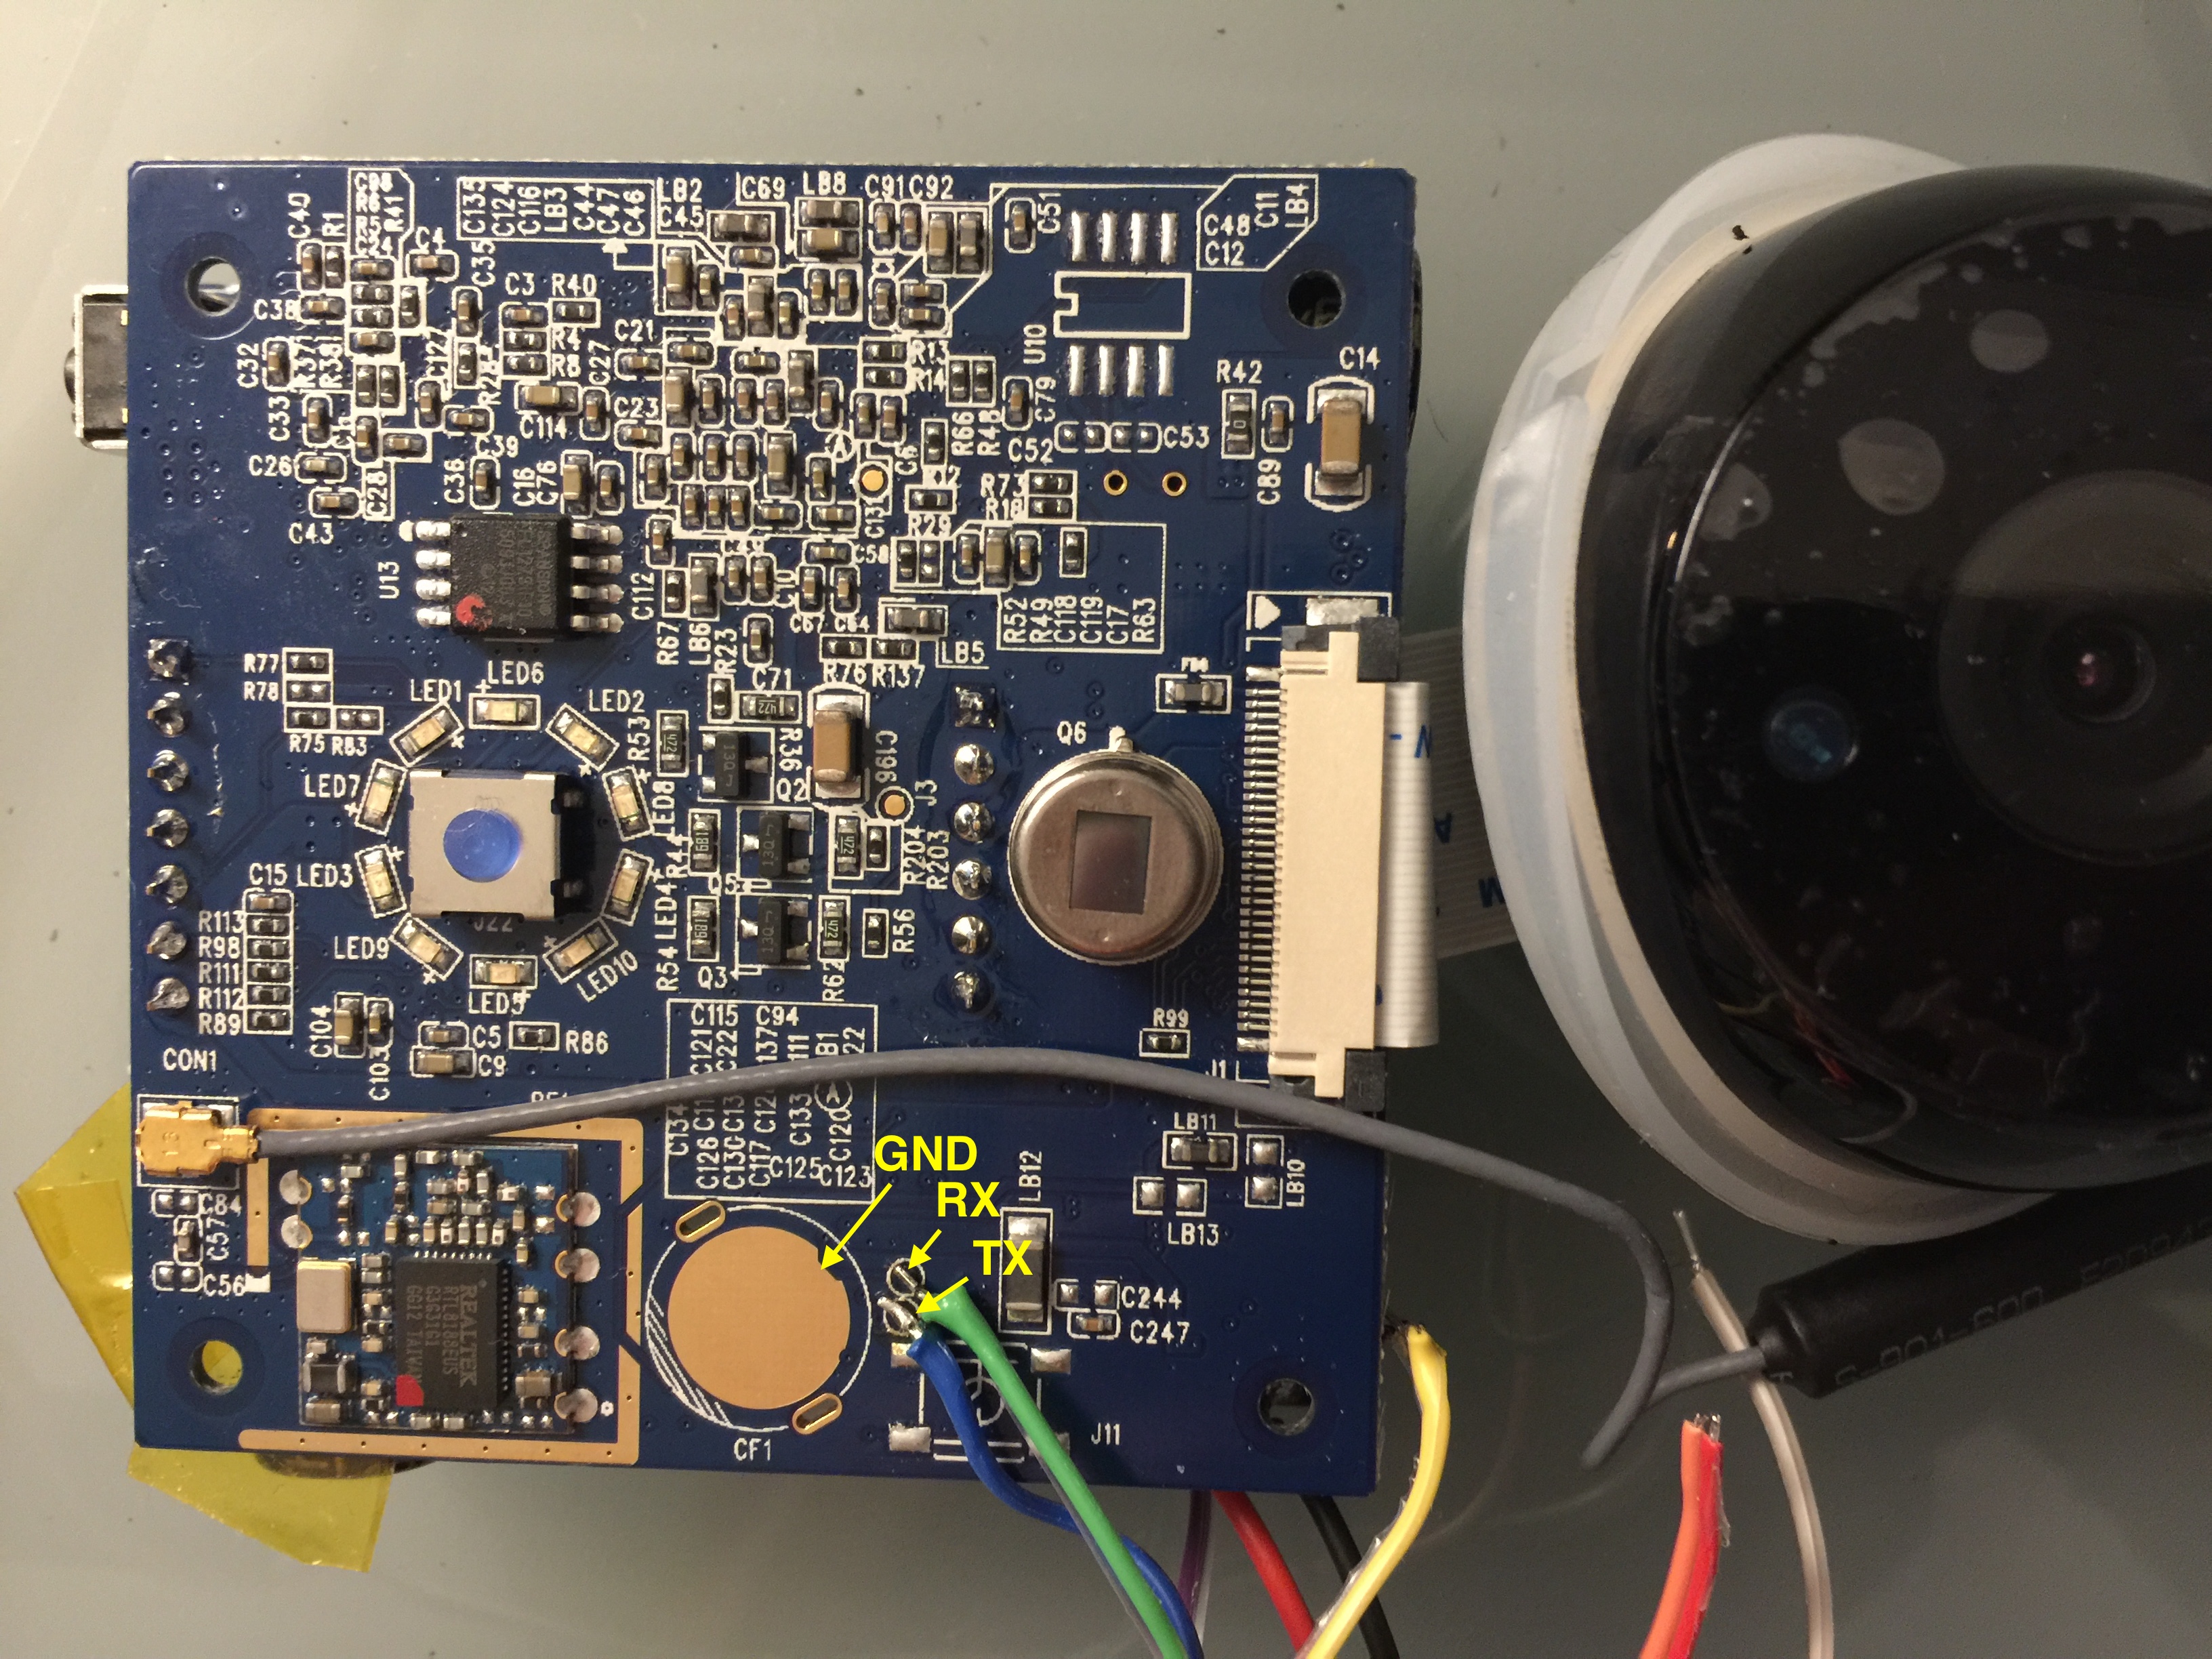
The main board has a UART broken out to two test points on the back. During boot you can use this UART to get a uBoot shell. Once the device has finished booting the UART presents a root busybox shell. | |||
<gallery> | |||
File:Zmodo_Greet_UART.JPG | |||
</gallery> | </gallery> | ||
Revision as of 03:37, 2 August 2017
"Although the information we release has been verified and shown to work to the best our knowledge, we cant be held accountable for bricked devices or roots gone wrong." This page will be dedicated to a general overview of descriptions and information related to The Zmodo Greet
Purchase
You can purchase The Zmodo Greet on Amazon.
About
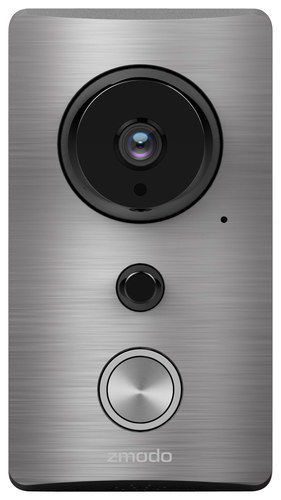
The Zmodo Greet is a WiFi doorbell with a camera and two way audio communication.
Power
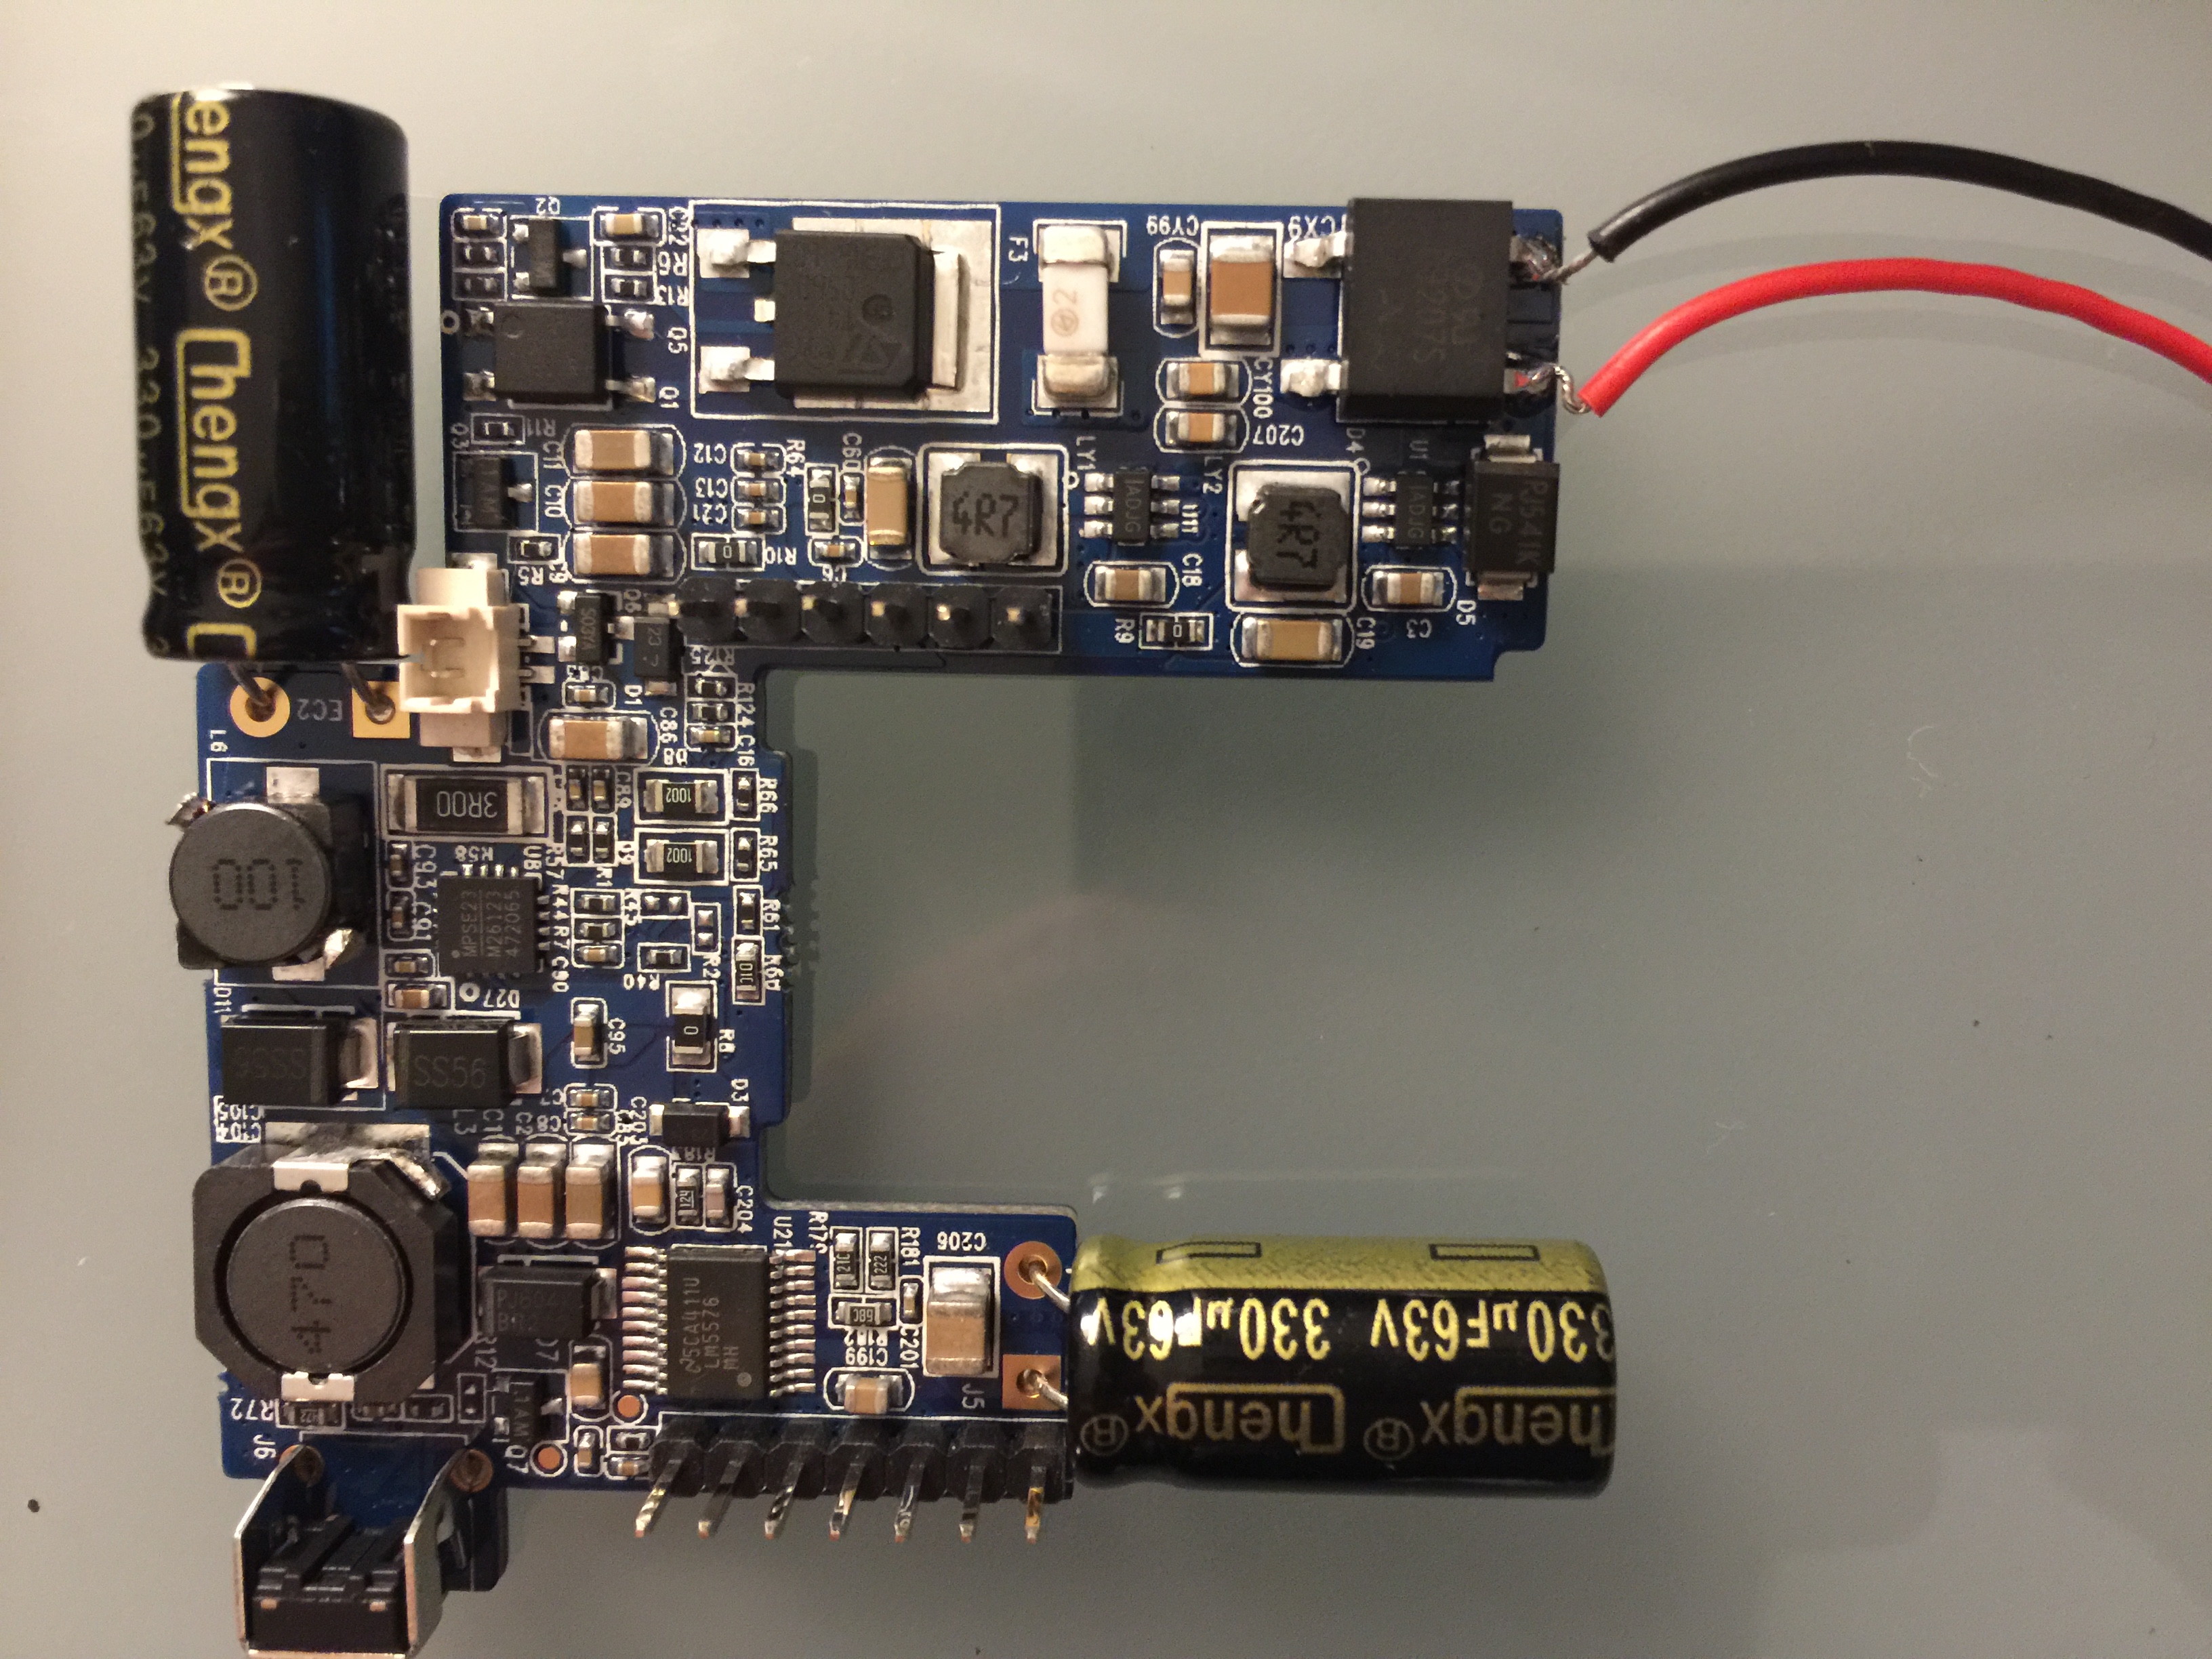
Powering this board is a bit of a challenge. It expects to be connected to a 10-36V AC source in series with a doorbell chime. Just connecting a DC source to the input doesn't work. We found the best method is to solder a connection to the DC side of the rectifier and supply a low DC voltage there (we used a 9V battery).
UART
The main board has a UART broken out to two test points on the back. During boot you can use this UART to get a uBoot shell. Once the device has finished booting the UART presents a root busybox shell.


